Top 5 Trickiest Intersections in Chatswood and How to Navigate Them
If you're aiming to get your P-plates in Northern Sydney, the Chatswood Service NSW test center is likely on your radar. While a bustling, vibrant area, it’s also known for some of the most demanding intersections in the region.
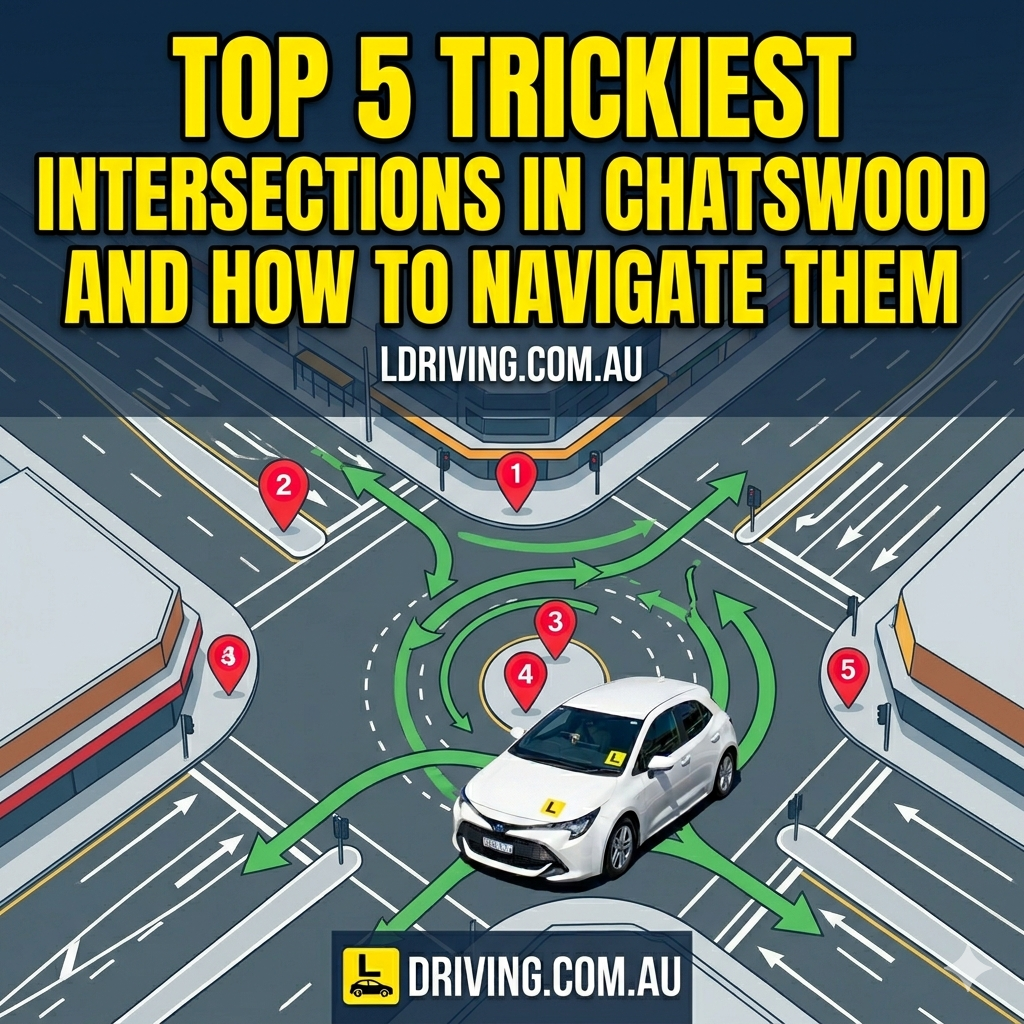
Test routes often snake through the narrow streets of East Chatswood before hitting the high-volume arterials. We’ve identified the top five hotspots where students often stumble, and our expert tips for tackling them.
1. Victoria Ave & Archer St (The Heart of the CBD)
This intersection is arguably the busiest in Chatswood.
- The Challenge: Extreme pedestrian traffic, a complex mix of right-turn arrows, and traffic waiting in the middle of the intersection to turn right (the "diamond turn").
- How to Navigate: Scan, Scan, Scan. Your primary focus must be pedestrians. If you are turning, watch for people stepping off the kerb late. When turning right, make sure you don't 'creep' too far forward and block the oncoming lane. Patience is your best friend here.
2. Pacific Highway & Mowbray Rd (The Southern Gate)
One of the key entry points to the Lower North Shore.
- The Challenge: Multiple lanes with conflicting signage and high speed limits (70 km/h). The lane setup changes depending on which direction you approach from, often forcing last-minute lane changes for unaware learners.
- How to Navigate: Positioning. Decide where you are going long before you see the lights. Use your GPS or know the route. In our L Driving 2025 Toyota Corolla, we teach you to establish your position in the lane early to avoid reactive, nervous merging.
3. Fullers Rd & Millwood Ave (The West Chatswood Pinch Point)
A tricky, multi-leg intersection that feels tighter than it is.
- The Challenge: It’s an unusual shape where roads meet at sharp angles, and lane markings can be faded or confusing. Visibility can also be restricted by trees and property fences.
- How to Navigate: Slow Down & Use 'The Bubble'. Approaching this intersection slowly gives you more time to process the information. Keep a safe distance (or "bubble") from other cars. Ensure your indicators are used early to show other complex traffic your intentions.
4. Boundary St & Eastern Valley Way (The Industrial Zone)
This signals the transition into the warehouse district and residential East Chatswood.
- The Challenge: Frequent large trucks, confusing multi-lane roundabouts nearby, and right-hand turns across multiple lanes of fast-moving traffic.
- How to Navigate: Decisive Action. Once you’ve scanned the lanes and confirmed a gap, make your move confidently. Hesitation, or starting a turn and stopping midway, is a significant test hazard. We practice this intersection to help you build confidence in gap selection.
5. Archer St & Mowbray Rd (The School Zone Trap)
Close to major schools and residential areas, making it dynamic.
- The Challenge: Active school zones and pedestrian crossings can create unexpected slowdowns. A key fail point is students missing the changing speed limits or failing to give way to pedestrians at the controlled crossing.
- How to Navigate: Scan for Speed Signs. This is all about awareness. Watch the time on your dashboard. If you're near this intersection during school hours, your speed must be precisely 40 km/h. Treat every pedestrian crossing as active.
Master Chatswood’s Roads with Confidence
Feeling overwhelmed by Chatswood? You don't have to face it alone. At L Driving, our local instructors are experts in the Chatswood RMS test routes. We will guide you through these challenging intersections, helping you build the confidence and skills to pass your test the first time.
[Book Your Chatswood Practice Lesson Today!]